This post may contain affiliate links, which means we may receive commission, at no additional cost to you, if you make a purchase through these links. See our full disclosure here.
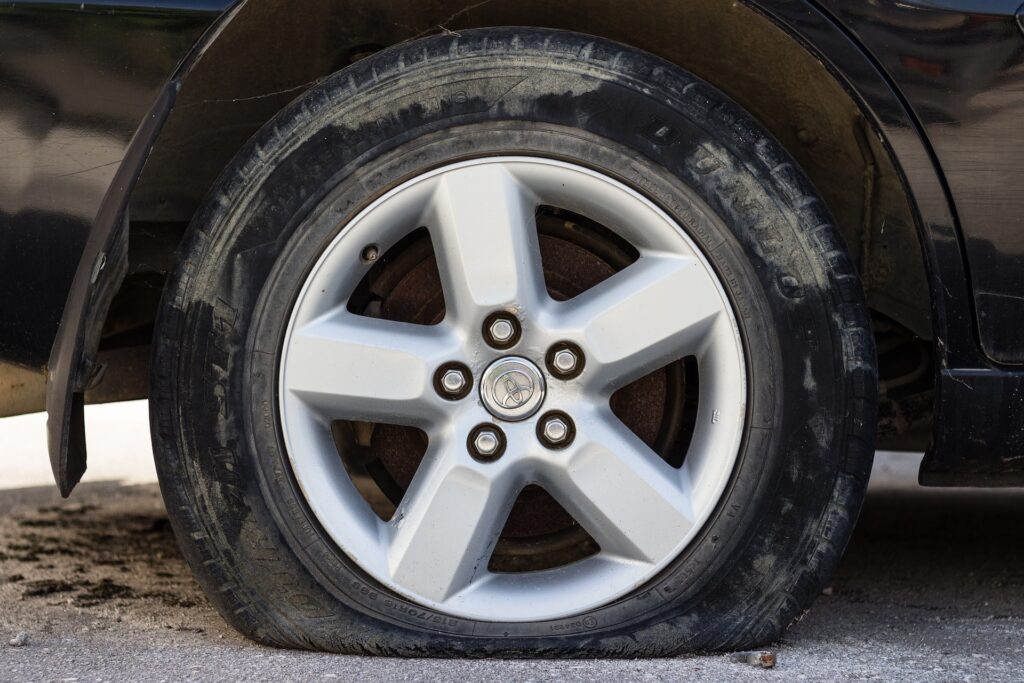
Changing a flat tire is a basic skill that every driver should know. While you may be certain you can make it to your destination on a flat tire, it isn’t worth the risk. Driving on a flat tire can lead to rim damage, worse vehicle handling, and lower fuel economy. Don’t put your safety at risk! Take the time to pull over and change the flat tire with this step-by-step guide.
Tools Needed to Change a Flat Tire
- Spare tire
- Jack (we recommend a hydraulic jack)
- Lug wrench
- Vehicle owner’s manual (for jack placement)

Changing a Flat Tire Step-by-Step
- Find a Safe Location: Move your vehicle to a flat, safe location away from traffic. If you’re on the side of the highway, be vigilant! If you’re on a hill, use bricks or wheel wedges to prevent the tires from moving. Engage the parking brake and turn on the hazard lights before you begin.
- Loosen the Lug Nuts: Before lifting the vehicle, use the lug wrench to loosen the lug nuts on the flat tire. Turn them counterclockwise by applying firm pressure. Use the flat side of the wrench to pry off the hubcap if necessary. Do not remove the lug nuts. Note that some vehicle manufacturers require a special (provided) lug nut key to remove an oddly shaped lug nut, often referred to as a wheel lock. Without the key, you won’t be able to remove the flat tire.
- Position the Jack: Consult your owner’s manual for proper jack placement. Place the jack under the frame near the flat tire. Ensure the jack is on a level surface to reduce the risk of accidental injuries.
- Lift the Vehicle: Use the jack to raise the vehicle until the flat tire is completely off the ground. You may need to use the lug nut wrench, acting as a handle, to raise and lower the jack. You don’t need excess height here. Raise it just enough so you have enough space to remove the tire.
- Remove the Lug Nuts and Flat Tire: Finish removing the loosened lug nuts and set them aside somewhere you won’t lose them. Pull the flat tire toward you until it slides off the wheel bolts.
- Mount the Spare Tire: Align the spare tire with the wheel bolts, then push it onto the wheel base.
- Hand-Tighten Lug Nuts: Start replacing the lug nuts by hand to avoid cross-threading. Tighten them in a star pattern to ensure even torque.
- Lower the Vehicle: Once the lug nuts are as tight as you can get them by hand, lower the jack until the spare tire touches the ground. Don’t put the full weight of the vehicle on the spare tire just yet.
- Tighten Lug Nuts: Use the wrench to securely tighten the lug nuts in a star pattern. Apply plenty of pressure, but be careful not to over tighten them.
- Lower the Vehicle Completely: Lower the jack the rest of the way and remove it from under the vehicle. At this point, you can put the hubcap back on.
- Stow Equipment and Check Tire Pressure: Return the lug nut wrench, jack, wheel lock key, and any other tools you used to their storage compartment. Check the spare tire’s pressure.
- Inspect the Tire and Drive Cautiously: Ensure all the lug nuts are tight and the spare tire is secure. Watch your speed, as many spare tires aren’t designed for highway driving. Have the tire repaired or replaced as soon as possible.
Changing a tire is a crucial skill for every driver. By following the steps outlined in this guide, you’ll be able to replace your tire and be back on the road in no time. Remember to regularly check your spare tire and keep essential tools in your vehicle so you’re prepared for any tire-related emergency!


loe8ad
mm13e2
d1ntgr
b3fxb1
xoj7m6